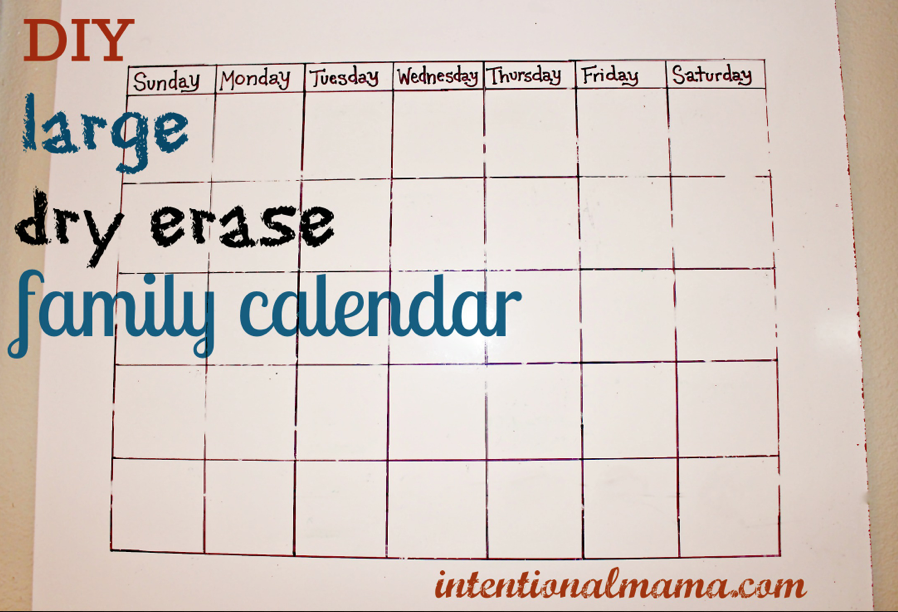
DIY Dry Erase Family Calendar (Great for Classrooms Too)
Tile board is great dry erase material--it can be used at home to create large family wall calendars or to display the week's menu. As a foreign language teacher, I used tile board to make a classroom set of mini whiteboards. (We used them for translation games.) If you're interested in making a large dry erase family calendar, read on. Frankly, this DIY project is incredibly easy, since the home improvement store employees can cut the tile board for you.
You'll need:
* A sheet of tile board (aka shower board or marker board). A huge sheet costs about $12. You could probably make a dozen calendars or more with one sheet.
clear plastic mirror clips
* Permanent marker - for drawing the calendar grid.
* Mirror clips - for attaching the calendar to the wall. I used clear plastic clips; a box of six cost $4.
* Ruler - as a straight edge and for spacing the calendar grid lines.
* Dry erase marker - for marking dates and events.
Directions:
1. Decide where you want to mount the calendar and measure the dimensions you'd like it to be. Our calendars are 21" long by 18 1/2" high. If you have the wall space, I suggest making two or three calendars so you can schedule events several months ahead.
2. At a home improvement store, find the shower board (aka tile board) and have an employee cut it to the dimensions you prefer. Take the sheet of shower board to the lumber section and use the call button for assistance with the saw, which can only be operated by employees.
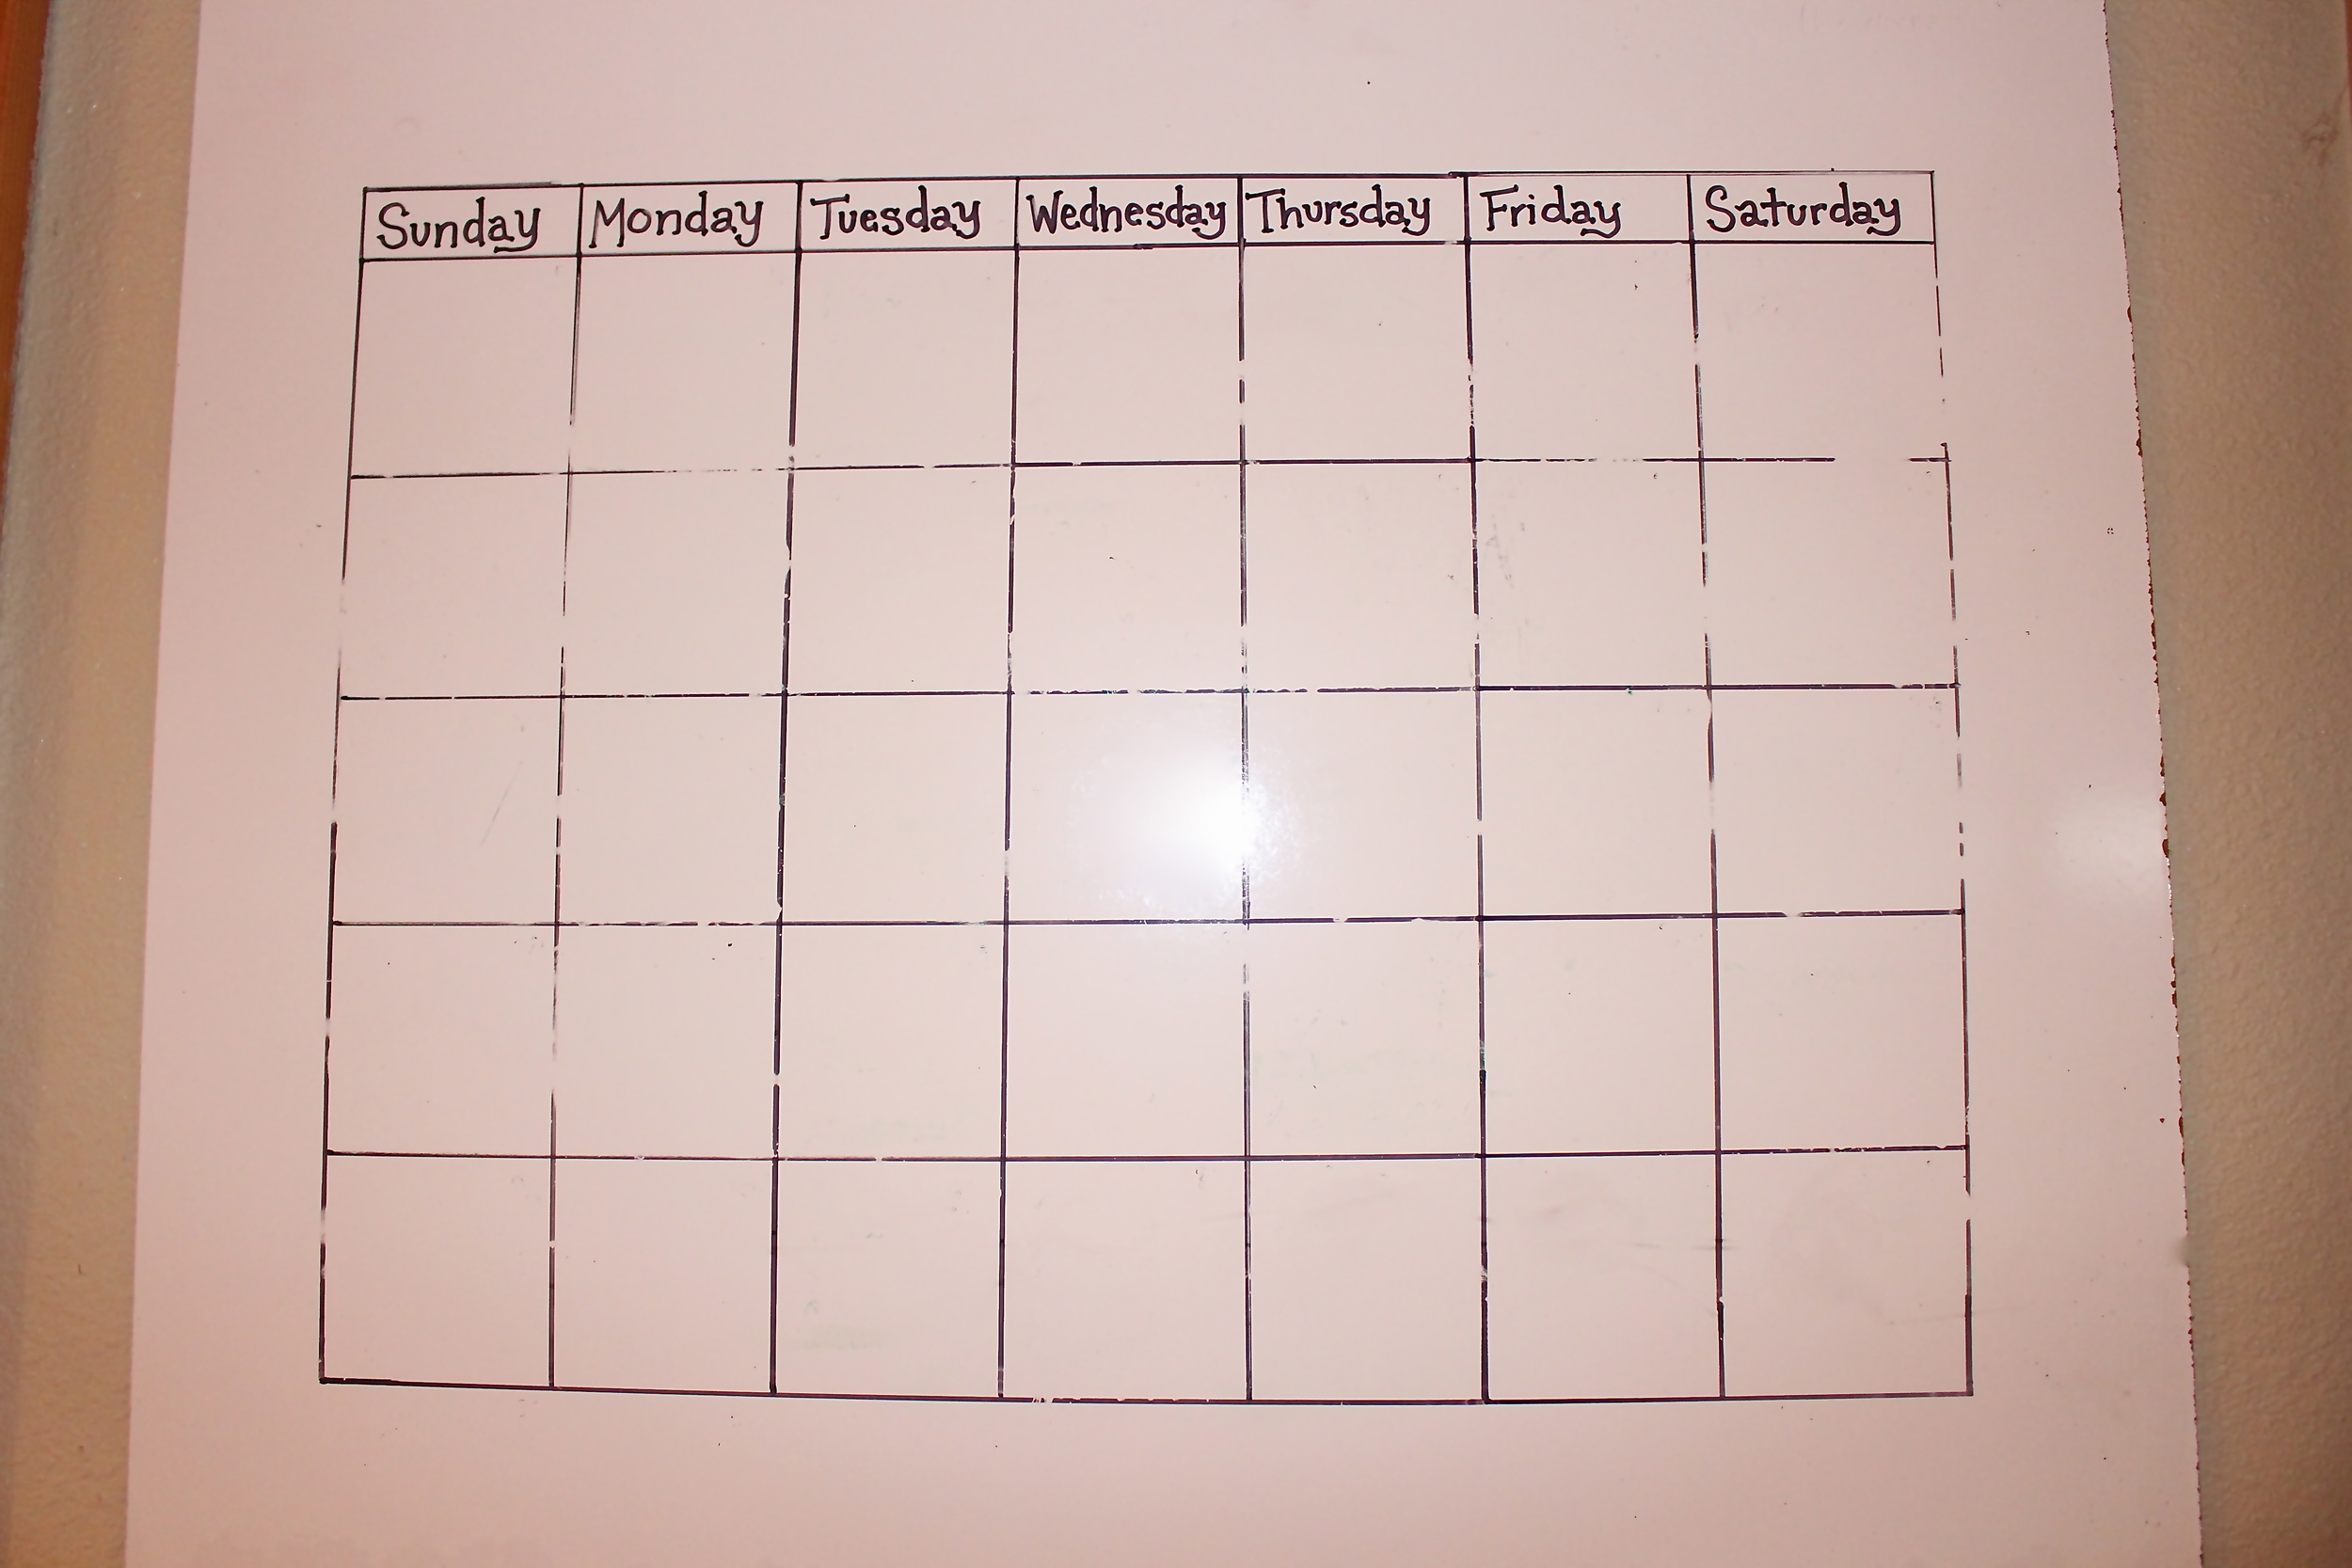
3. At home, use a permanent marker and a ruler to draw seven horizontal lines and eight evenly spaced vertical lines. If you prefer, use a dry erase marker to draw your lines, then go over them again with the permanent marker. If you make a mistake with the permanent marker, a dab of rubbing alcohol will take it off. My horizontal lines are 2 1/4" inches apart except for the first two, which are spaced more closely (2 7/8") to frame the name of the weekday. My vertical lines are 2 1/2" apart. I allowed a margin for writing notes.
4. Write the name of the weekday above each column with permanent marker.
5. Mount the calendar to the wall using the mirror clips. I suggest two clips below and two above to secure it. If you can find studs in the wall, screw the clips directly into the studs; if you're mounting it into drywall alone, use the anchors provided with the clips.
6. Complete the calendar dates with the dry erase pen. We store our pens on a door frame next to the calendars.
Optional frame: For a more formal look, you can cut and paint baseboard to frame your calendar, but you'll have to find an alternative to the mirror clips to mount it.
It's amazing how much a large dry erase calendar can smooth the way for clear family communication! If you complete this project, send me a photo (find Intentional Mama on Instagram and Facebook) and enjoy your family's new time management tool!


